• Home
  • Renovation Tours
    • #12 Betty the JayFlight
    • #11 Evo the Rental
    • # 10 Jayco White Hawk
    • #9 2012 Jayco 5th Wheel
    • #8 2009 Keystone Hideout
    • #7 2010 Keystone Raptor
    • #6 Jayco Jay Feather
    • #5 Class A
    • #4 Class C
    • #3 2007 Trail Bay
    • #2 Jayco Eagle
    • #1 Jessie Wrangler
  • RV Rental
  • FAQ
  • About Us
    • Reviews
    • The Shop
    • Merch
    • Podcast
    • Landscape Photos
  • Contact Us
    • Consultations
    • Waitlist Inquiry
    • Review us!
  • Blog
  • RV Product
  • Join our tribe!
  OUR LIVELY TRIBE - RV Remodeling
  • Home
  • Renovation Tours
    • #12 Betty the JayFlight
    • #11 Evo the Rental
    • # 10 Jayco White Hawk
    • #9 2012 Jayco 5th Wheel
    • #8 2009 Keystone Hideout
    • #7 2010 Keystone Raptor
    • #6 Jayco Jay Feather
    • #5 Class A
    • #4 Class C
    • #3 2007 Trail Bay
    • #2 Jayco Eagle
    • #1 Jessie Wrangler
  • RV Rental
  • FAQ
  • About Us
    • Reviews
    • The Shop
    • Merch
    • Podcast
    • Landscape Photos
  • Contact Us
    • Consultations
    • Waitlist Inquiry
    • Review us!
  • Blog
  • RV Product
  • Join our tribe!
I'm Erin, the mama of this tribe. 
I live with 5 boys ya'll! Pray for me.
Once in a while, I try once a week, to get on and blog.
Sometimes it's about travel, sometimes it's about family,
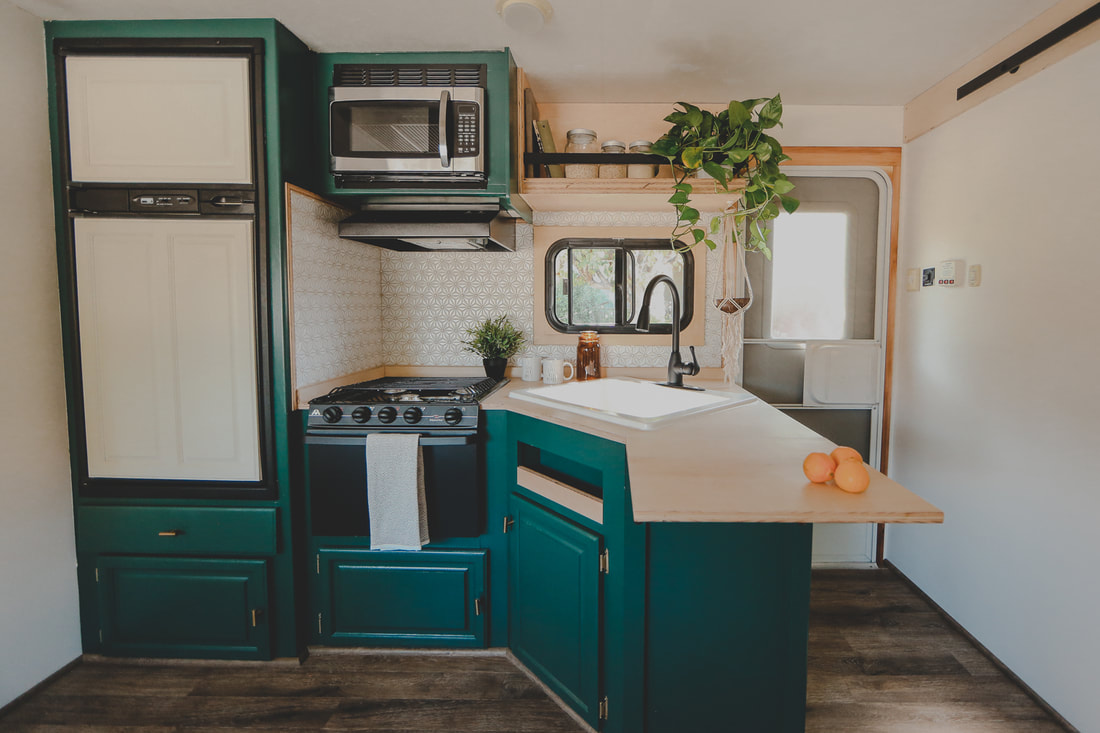
sometimes widowhood, sometimes trailer flips,
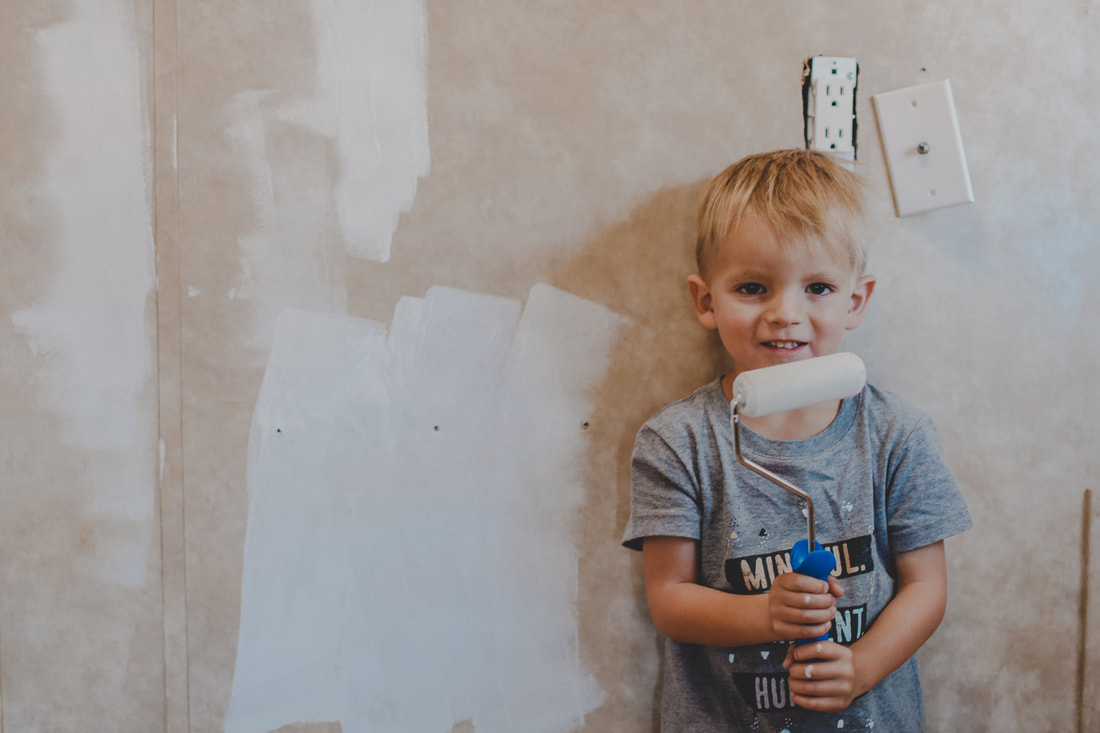
​sometimes living with 5 boys.
No matter what it's about, it's always about our life.

PAINT your rv

8/28/2020

Comments

 
Picture
​The most commonly asked question we get is, “how do we paint our RV?” Painting your RV is the biggest job when turning your space into a space you love but it ultimately makes the biggest change. Taking that ugly brown to a new level by covering it in white and adding pops of color is a game changer. White brightens up the space and colors give the space your touch of personality.
Let me preface by saying, painting is the biggest job when renovating your RV but it is also the most rewarding. When done right, you should only have to do it once so I’m sharing our how tos, what we’ve found has worked for us and what we use to take that ugly brown and turn it into a bright and open space with paint.

When you paint an RV, it’s a much more tedious job than painting 4 walls in a room of your home. RVs are smaller but the nooks and crannies are everywhere! There’s not one solid large wall to roll paint on, there are cabinets and corners everywhere you turn which all require detailed attention. Your rig may get a lot of wear and tear, extreme weather conditions inside. If it sits in the Arizona heat during the summertime, unused or the cold North Dakota winter in the snow, it will effect the paint and how it holds up, so be prepared, nothing is perfect but there’s a way to do it to hold up longer and ways to maintain the paint.

How long does this job typically take? For two people, it can take a full week or more to prep, paint, let dry, paint, let dry, paint more. It can feel like an incredibly slow process and it can feel as if it may never get done, but take your time and do it right the first time or you’ll be doing it again sooner than you may want.

Picture
First thing, pick out your color. It doesn’t matter what white color you use, that’s a personal preference. There are so many whites to choose from, choose one! Are you looking for a white with more blue undertones? Green undertones? It’s almost as if there are just too many to choose from that the choice can feel daunting. Just find one you like, close your eyes and pick, whoever it takes.


Here’s a list of what you’ll need and a link to our Amazon Affiliate page where we’ve done the work for you
-blue painters tape
-brown butcher paper
-brushes (our favorite are linked here)
-bonding primer
-mask
-bucket
-sponge
-tsp
-your main paint color (which can be picked up at your local hardware store)

Picture
To spray or to roll
Again, this is a personal preference. What we’ve found to work best for us is to do both. We spray the cabinet doors and RV doors, things we remove, we spray in our painters booth. The rest of it is rolled on. Rolling on the interior gives us the ability to have more control over where the paint is going.

To prep, remove the furniture you will not be keeping inside after your renovation. Cover the rest with plastic or brown butcher paper. We prefer the paper to wasting plastic. After everything is covered, start removing the hardware from cabinets and drawers. Grab a few coffee canisters and organize your drawer pulls and latches into these with the screws so nothing gets lost. From here it’s time to tape! Tape all of the widow frames, the floor, the light fixtures and switches. We always paint the ceiling of the entire RV so the same paint color is laid throughout the entire renovation. We tape off everything on the ceiling to prepare it all for paint. We also custom build a lot of new things in RVs so before we add paint, we’ve demoed the RV and taken out the pieces we will rebuilding.
Picture
After the prep is done, it’s time to clean the walls. Some RVs have a tacky boarder that goes around the living space, this come off fairly easy with some goo gone and heat. I use a basic heat gun or blow dryer. Once this boarder is removed, it’s time to clean the walls. Using gloves and a mask, you’ll want to apply TSP to the walls to clean them. TSP removes the layer of grime left on the walls. It is a heavy duty chemical so make sure you are wearing the right equipment to safely handle it. TSP dulls up the walls so the paint can stick better. We’re asked a lot if we remove the film like paper on the walls. NO. Under that is plywood walls and you’ll lose the texture the paper gives under the paint if you remove it. Cleaning the walls and cabinets takes time, but it’s a step you don’t want to skip.
After the walls and cabinets have all been cleaned with TSP, it’s time to wipe the walls down with warm water. Using a bucket of warm water and sponge, wipe down the walls and cabinets.
Picture
Once everything is dry, it’s time to add the first coat of bonding primer. We don’t sand the cabinets or wood. The bonding primer is made to stick to the walls and cab sits. If we are covering a darker surface, we do two coats of the bonding primer. After the surface has been covered once or twice, it’s time to add the white paint color, or whichever color you have chosen. After one or two coats of the paint color, you are done!

Like I said, it’s a process and takes time but it makes the highest difference in your space.
How do you keep white walls white? Magic erasers and touch up paint work miracles. Living in a small space with 4 boys, our walls are dirty often but it’s nothing that can’t be helped. If you have found a better way to do this, good on yah! This process is different for everyone. Some want more fast and efficient work while others don't mind taking the slow route, making sure no steps are skipped. To each his own. 

Best of luck on your RV paint adventure! Remember to give yourself time and have patience. The reward at the end is so worth it when you can look around and see your nice cozy space that feels like home.

Click here to see all of the items we prefer to use when painting an RV
Comments
    Picture
    Picture
    Erin
    Mom x4 boys, wife, widow, entrepreneur, traveler and dreamer. 

    Subscribe to our mailing list

    * indicates required

    Archives

    March 2022
    December 2021
    November 2021
    October 2021
    September 2021
    August 2021
    March 2021
    December 2020
    August 2020
    July 2020
    June 2020
    March 2020
    July 2019
    May 2019
    April 2019
    February 2019
    January 2019
    October 2018
    July 2018
    April 2018
    March 2018
    February 2018
    January 2018
    December 2017
    August 2017
    July 2017
    June 2017
    April 2017
    March 2017
    December 2016
    November 2016
    September 2016
    August 2016
    July 2016
    May 2016
    April 2016
    September 2015

    RSS Feed


RV Renovation Ideas
How to Paint your RV
RV for Sale
© COPYRIGHT 2015. ALL RIGHTS RESERVED.
  • Home
  • Renovation Tours
    • #12 Betty the JayFlight
    • #11 Evo the Rental
    • # 10 Jayco White Hawk
    • #9 2012 Jayco 5th Wheel
    • #8 2009 Keystone Hideout
    • #7 2010 Keystone Raptor
    • #6 Jayco Jay Feather
    • #5 Class A
    • #4 Class C
    • #3 2007 Trail Bay
    • #2 Jayco Eagle
    • #1 Jessie Wrangler
  • RV Rental
  • FAQ
  • About Us
    • Reviews
    • The Shop
    • Merch
    • Podcast
    • Landscape Photos
  • Contact Us
    • Consultations
    • Waitlist Inquiry
    • Review us!
  • Blog
  • RV Product
  • Join our tribe!